
Big Sur Sunset (shot when the light was sweetest, per Dan Berman’s advice)
Editor’s Note: On my recent California pet-friendly road trip, I took on a mobile photography experiment. Since shooting landscapes isn’t my strong suit, I decided to push myself out of my comfort zone by asking a few of my friends for a mobile photography tip or two in an attempt to up my landscape game. Featured in this post are some of the images that I got using some of their tips. – Jen
I got a lot of great tips, and really got over my general fear and dislike of HDR (I use TrueHDR) which works really well for clouds. In fact, I’m pretty sure the HDR on my iPhone works better than my Canon DSLR. Another simple tip I got from Shirley Drevich (who can be found on instagram as luckyeye) is “square format is more forgiving than rectangle.”

From my pal Andy Royston (who can be found on EyeEm as @andyroyston and on instagram as ftlauderdalesun), who shoots beachscapes every morning, and is also a daily feed visit for me :
A few tips really, and some might be common photographic sense…
Always shoot form the shade, looking to to put something between you and the sun – be it a leaf, an cloud, a post – whether shooting at the sun or not. focus on the best lit contrasting element and take the shot on the darker side.
I use Camera+ to adjust the image, using a touch of the ‘HDR’ filter (10/15%) if there are things hidden in darkness that need a little help.
Then hold I down the ‘save’ button and hit the ‘commit edit’ option in the pop-up menu. From that point there are a few landscape-friendly filters; a touch of ‘sun-kissed’ (fade it back from the full effect as its a little strong) or ‘faded’ and ‘silver gelatin’ filters are nice too.
In Iris I aim for a touch of Dynamic Range, which defines colors, then maybe a touch of polarizer too. Sharpen and straighten that horizon…
I love Hipstamatic . Try the Jimmy lens and Jolly flash (hold still after the shutter for that as its got a delay on the flash).

One more – If its clear that there’s too bright a sky for the foreground to show ProHDR really is good. I use road signs or walls to hold it super-steady if I can. Sometimes I’ll work on the darker of the two pics that ProHDR takes, then use blender to knock the image back a bit if the HDR mix is too silly.
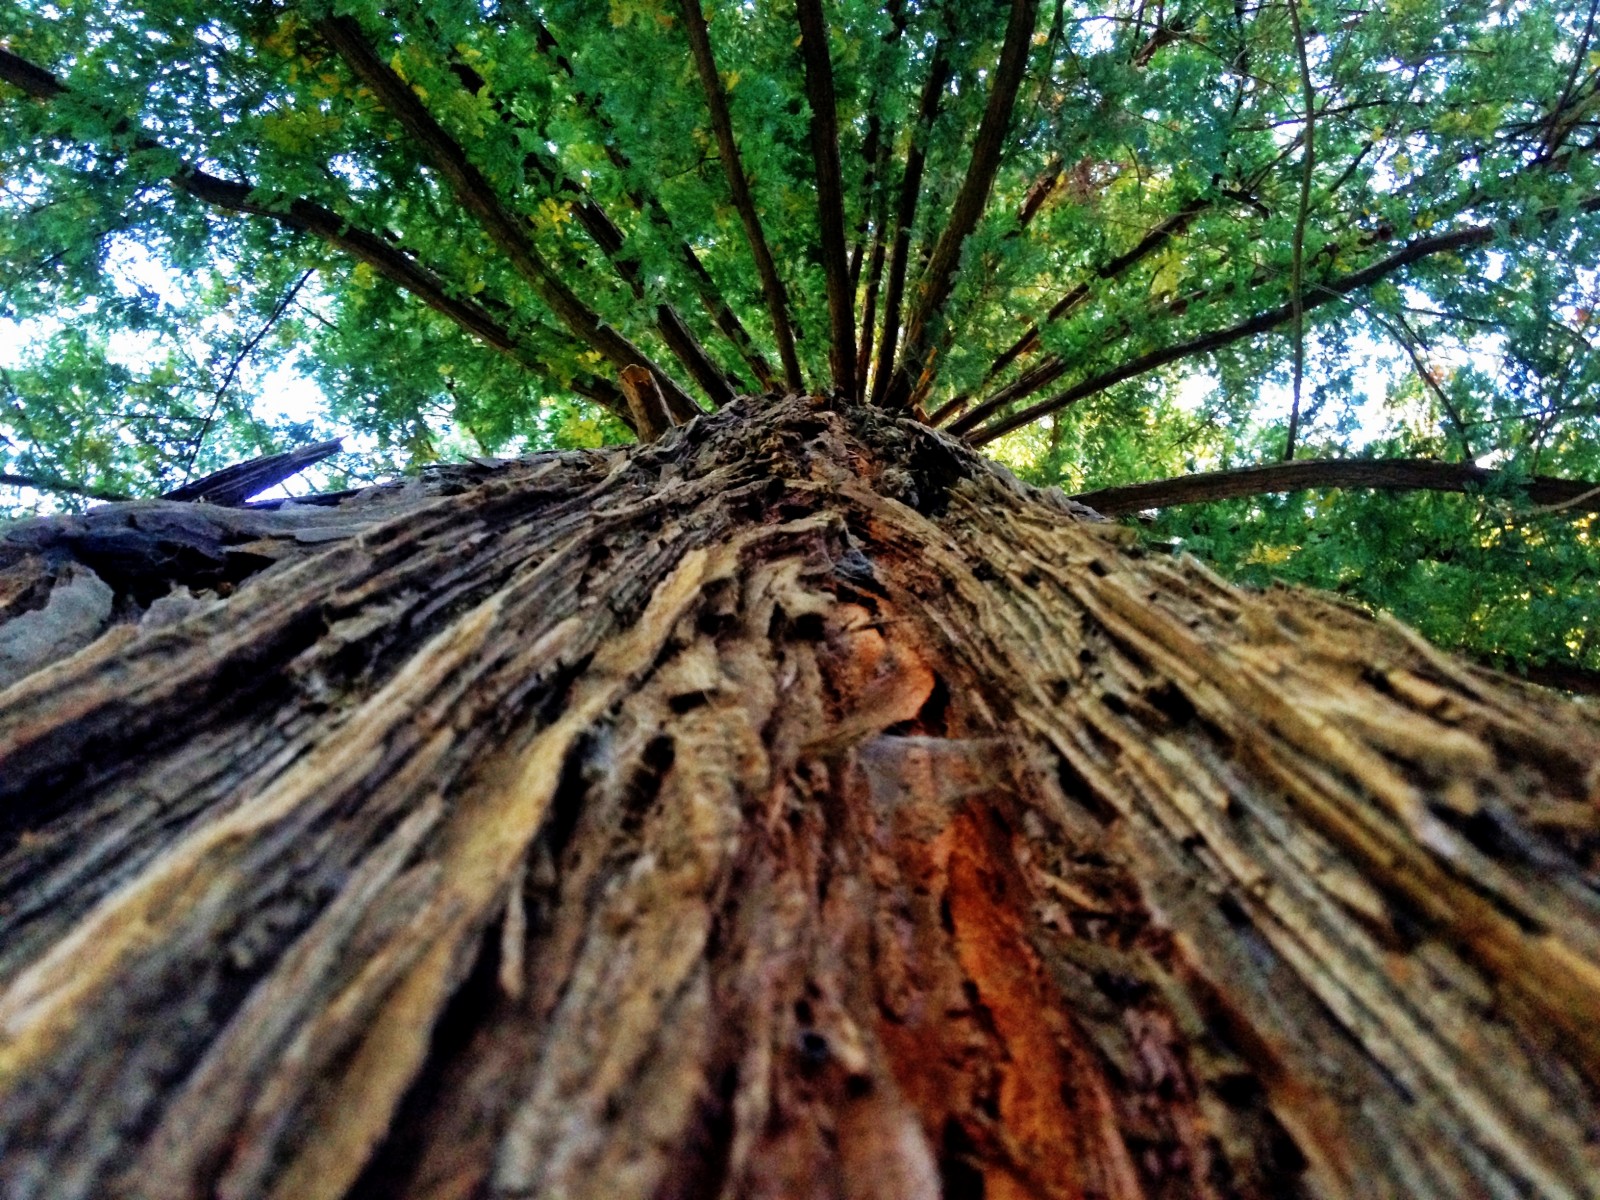
The image of a redwood tree I took using Andy’s tips, using the Blender app to blend down the HDR version. I also used my friend, Jaime Ferreyros’s tip to play up the vastness of the tree and how small it made me.
My beach shots I like using tilt to exaggerate even more the immensity between ocean and men. I like to sharpen my images using PhotoForge , then I take my image to Camera+ and if needed, apply the “Clarity” filter for some drama. I’m not really the warm and fuzzy type of iphoneographer, but do like to create my own “Landscape,” my own “World”.
What I took from Jaime’s advice is to not let rules dictate my style or my world. I don’t really go for realism or perfection, so there is no reason I need to go there with my landscapes. My goal was really to convey my feelings or emotions about the visuals, not to shoot a postcard.
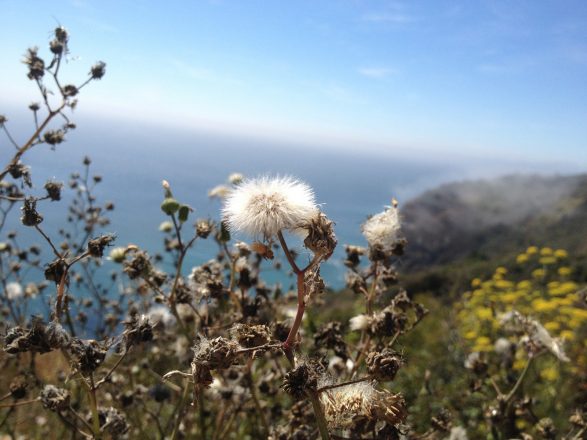
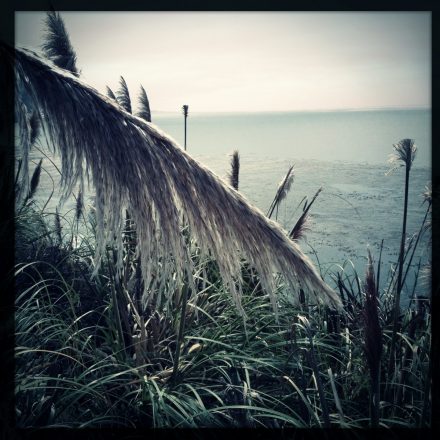
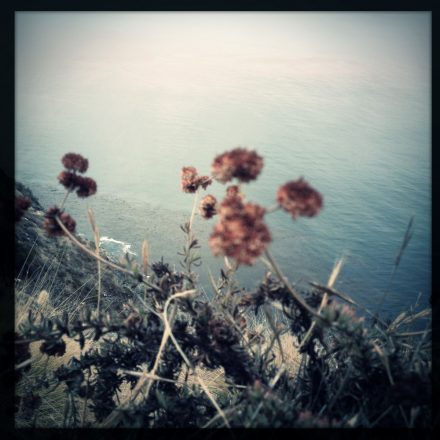
Above image: using Andy’s tip about putting something in the foreground, I thought that this wildflower was a nice detail to add to the vast Pacific ocean and the morning fog clinging to the PCH.

Daniel Berman, founder of the Mobile Photo Awards, gave me two really simple tips.
My #1 piece of advice would be really simple – make sure to shoot when the light is sweetest, end of the day of course. As for an app, try messing around with the grad filters in PhotoFX for some funky sky action.


My fellow Southern Calfornia mobile shooter Roger Clay (can be found on Instagram as Rogered and on EyeEm as @boltamania) has an incredibly unique style. I really liked his tip because it was soooo unusual, and produced some of the best results of the trip.
“As far as Hipstamatic goes try their new W Mag pack . The Wonder Lens and the W40 film combo colors are really nice when the sun is out and really makes clouds pop.”
Below are some of my favorite mobile photography shot of the trip, using Roger’s Hipsta tip W Mag Pack combo.

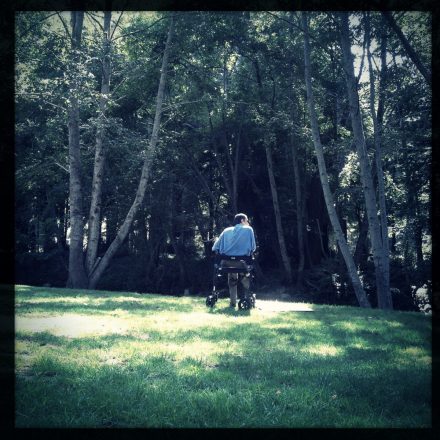
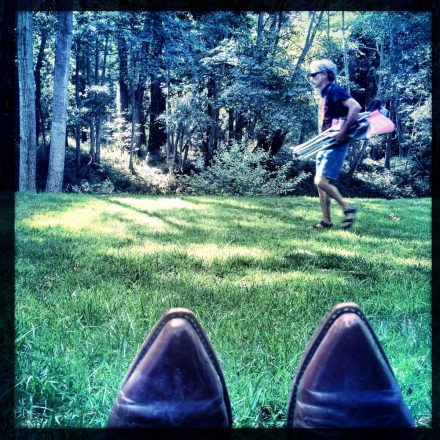
Above: These images were shot along the banks of the Big Sur River behind the Big Sur River Inn . I chose to put my boot tips in the foreground of the shot on the right for some additional interest.


Scarlet along the banks of the Big Sur River, shot with ProCamera.
(shot when the light was sweetest, per Dan Berman's advice)