Norway’s Northern Lights captured on my iPhone 7 plus using the NorthernLights App
I photographed the northern lights with my new iPhone 7 Plus on my recent trip to Norway’s Lofoten Islands. Anastasia Chernykh, this blog’s social media manager, also gave it a go with her iPhone 6. We had some success. As a general rule, the brighter the aurora, the better your chances are of getting a good photo of them with your iPhone. Here are five tips for photographing the northern lights with an iPhone.
Tip #1 Download Camera Replacement Apps to Shoot Longer Exposures
You need to use longer exposure times to effectively capture the northern lights. Since the iPhone’s native camera app doesn’t allow you to manually select your exposure time, I experimented using LongExpo Pro and the NorthernLights app.
Northern lights near Svolvaer, shot with iPhone 7 plus
I really like the LongExpo Pro app, and I thought it was going to be my go-to for this experiment because it has an intuitive interface which easily allows you to easily change the shutter speed with a simple tap, and an easy-to- locate timer butter.
Faint Northern Lights (shot using LongExpo Pro on my iPhone 7 plus)
Unfortunately both Ana and I had issues where the focus would lock where we wanted it to and then shift after the timer was set, resulting in blurry foreground. Hopefully this will be corrected in future updates of the app. I had the better luck using the NorthernLights app, which has some easy presets to play with for weak, moderate, and strong aurora lights. There is also a custom option that allows you to adjust your film speed (ISO) and shutter speed.
Tip #2 Use a Tripod or Mount to keep your iPhone still
Longer exposures require you to keep your camera still to avoid shake and blur. This also applies when you are shooting with an iPhone. Since we were both traveling with large tripods for our DSLR Cameras, we used In Your Face ViewBase clamps to steady our iPhones and clamped them onto the legs of our larger tripods.
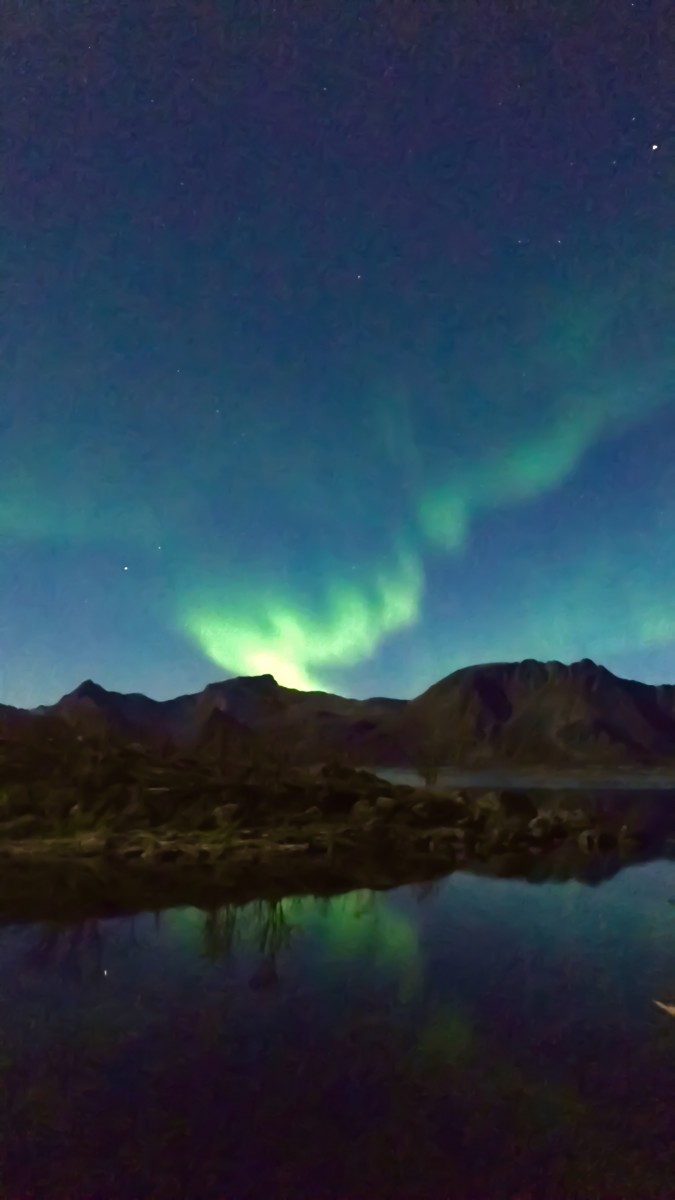
Squiggly Aurora Borealis (shot with the NorthernLights app)
Other lightweight options include the Joby Gorillapod Stand which easily fits into a backpack. When I return to Norway in February for a winter photography workshop, I will use an entirely separate tripod setup for my iPhone 7 plus, including the MeFoto Sidekick 360 Smartphone Adaptor for Tripods and a MeFoto Backpacker Air tripod.
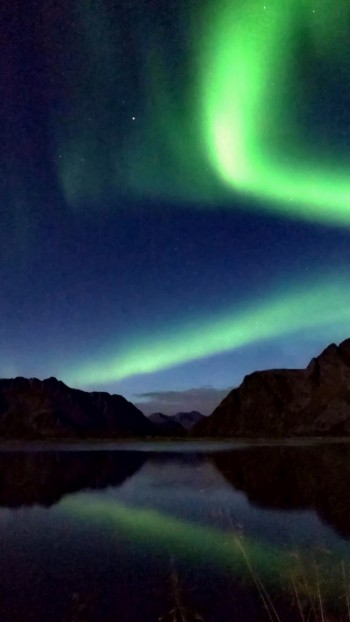
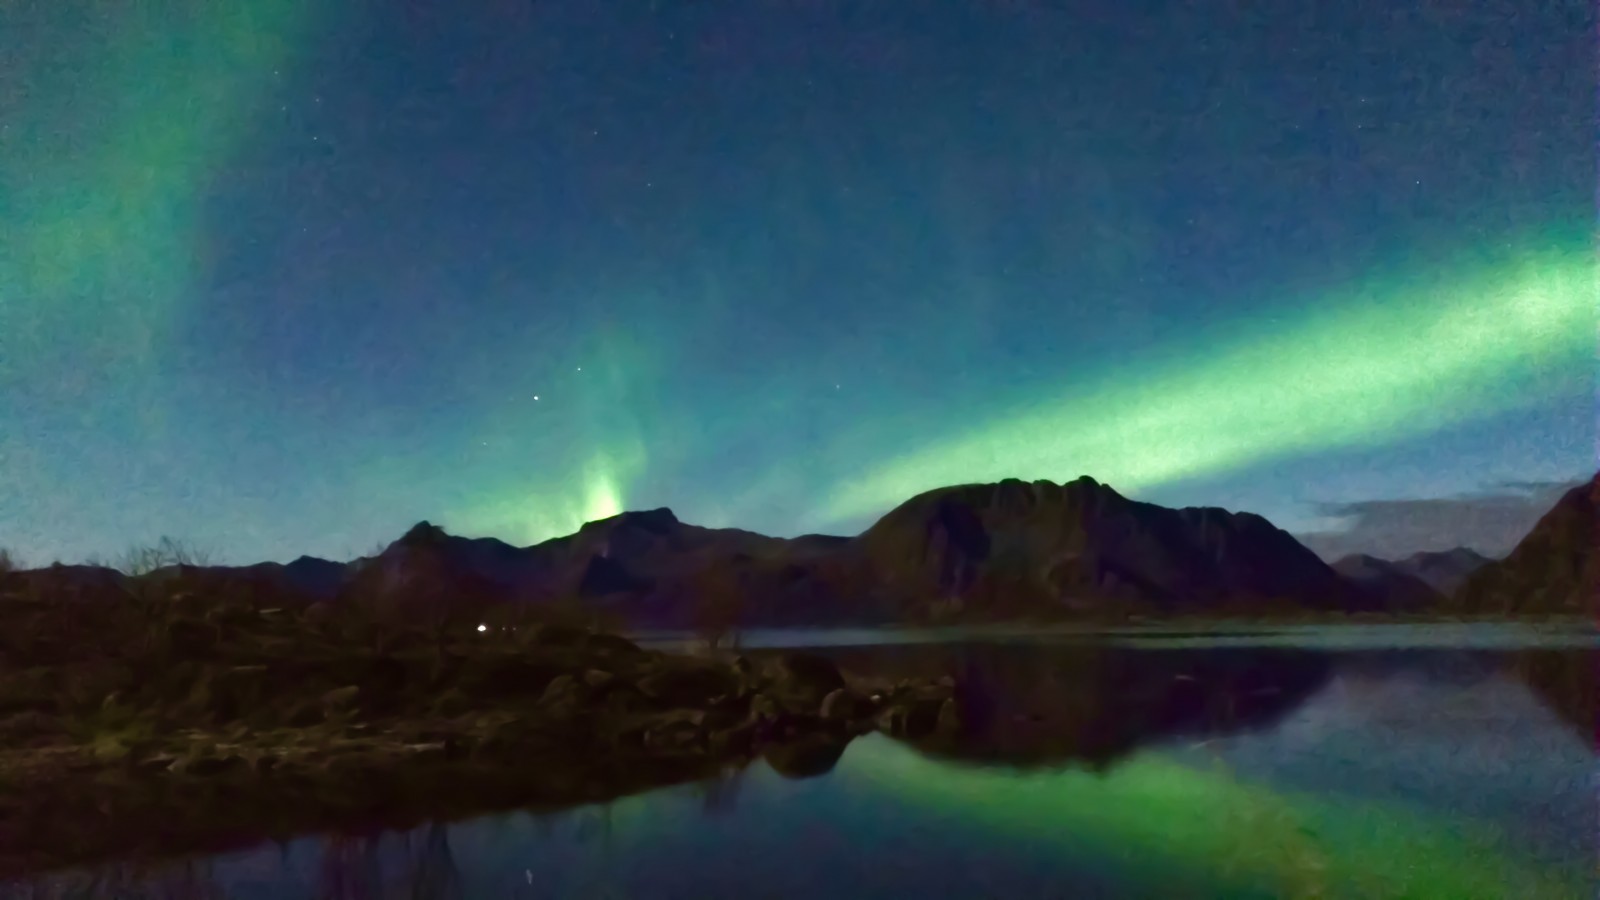
Northern lights reflected near Svolvaer (iPhone 7 plus)
Tip #3 Use the Timer feature
Delaying the shot by a few seconds helps prevent camera shake, which usually results in a better image. Using the timer feature or remote shutter release helps reduce shake and blur. All the camera replacement apps mentioned in this post have timer features. I found a two second delay sufficient. Some iPhone camera replacement apps, like Slow Shutter Cam, are compatible with the Apple Watch, which allows additional remote shutter release options.
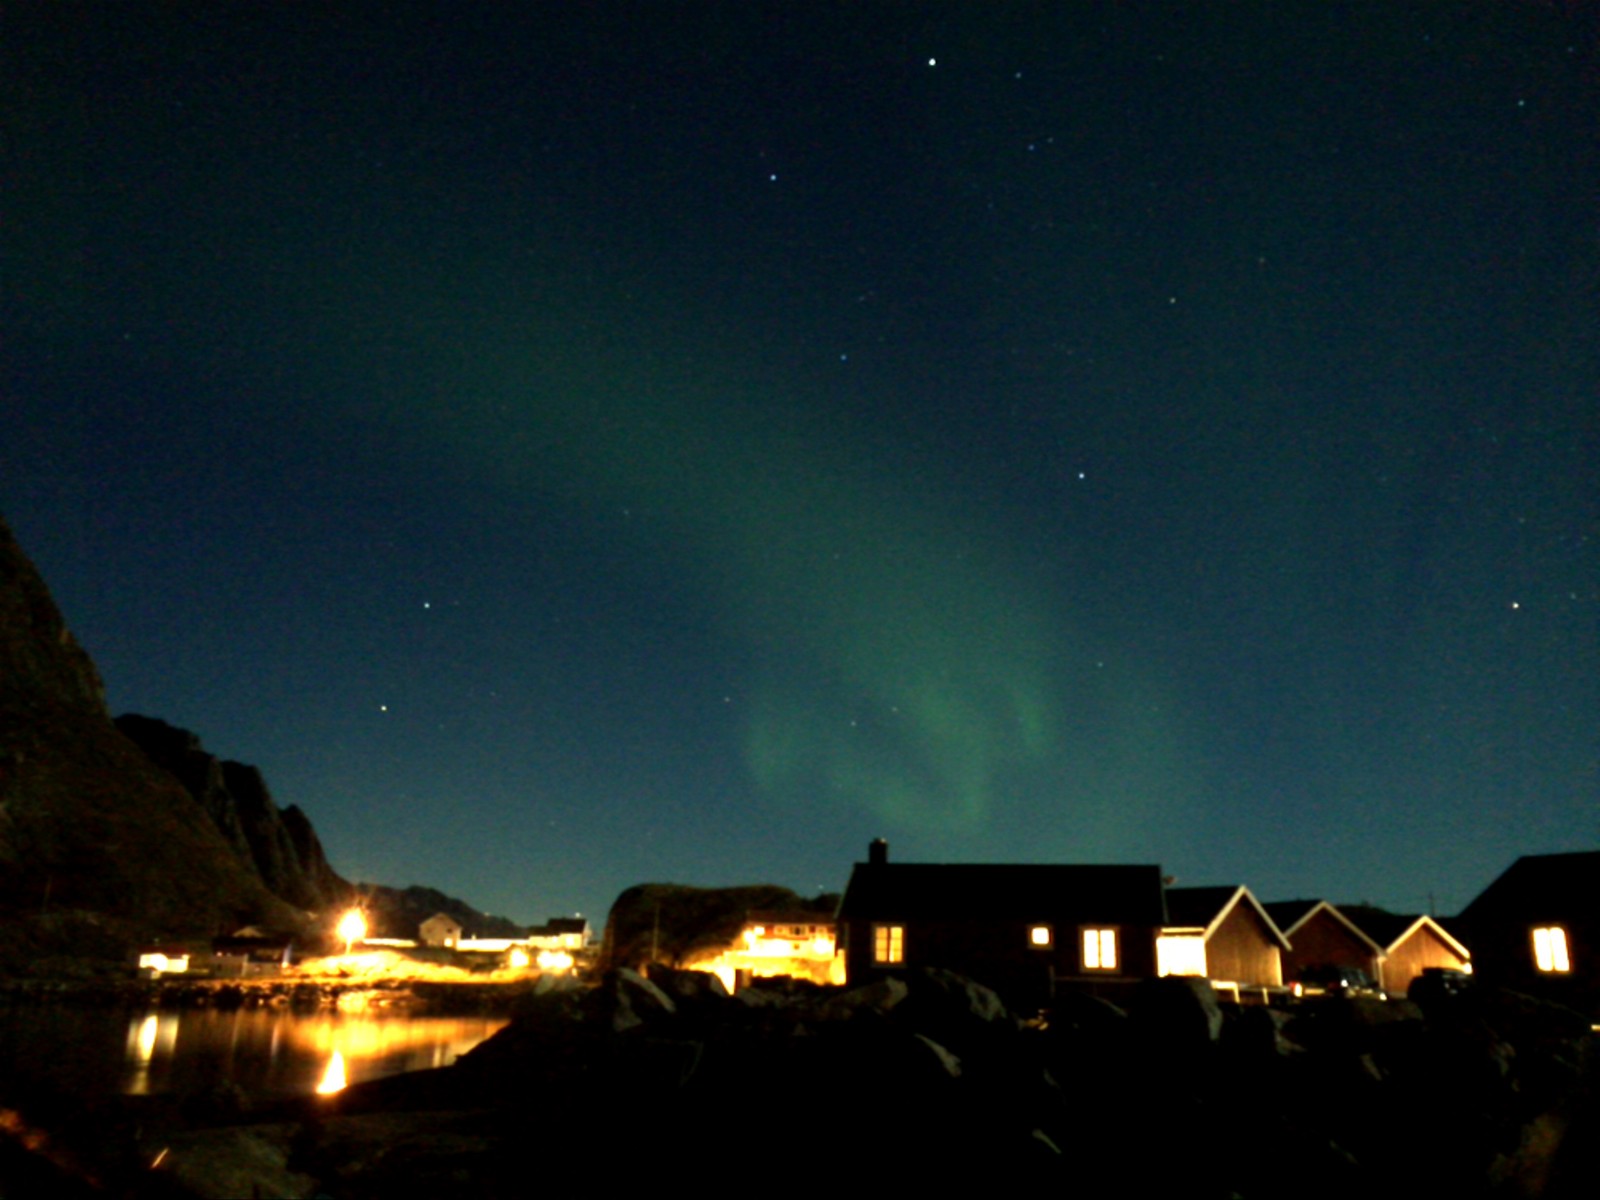
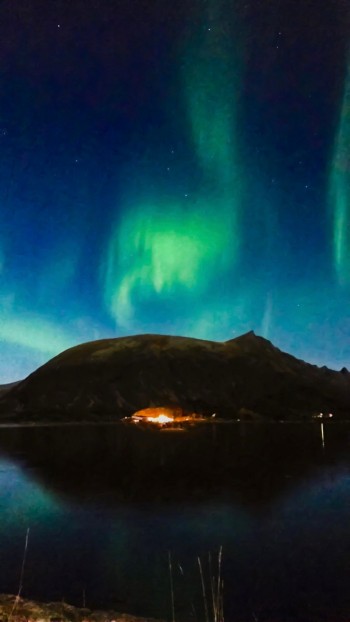
Anastasia got the image above using the Shutter Speed App on her iPhone 6
Tip #4 Include Foreground Interest in Your Shot
The aurora can appear as everything from a green streak across the sky to a rapidly shape-shifting pattern of streaks ranging in color from green to pink and purple. If possible, you’ll want to compose your image in a way that will add some local context. I tried to frame my shots to include the local fishing cabins to add a bit of Norwegian fishing village atmosphere. The northern lights were strongest and easier to photograph a few hours later, when we were near a lake outside of Svolvaer. There I tried to compose my shots to include some of the lake, where the lights were reflected on the water’s surface.
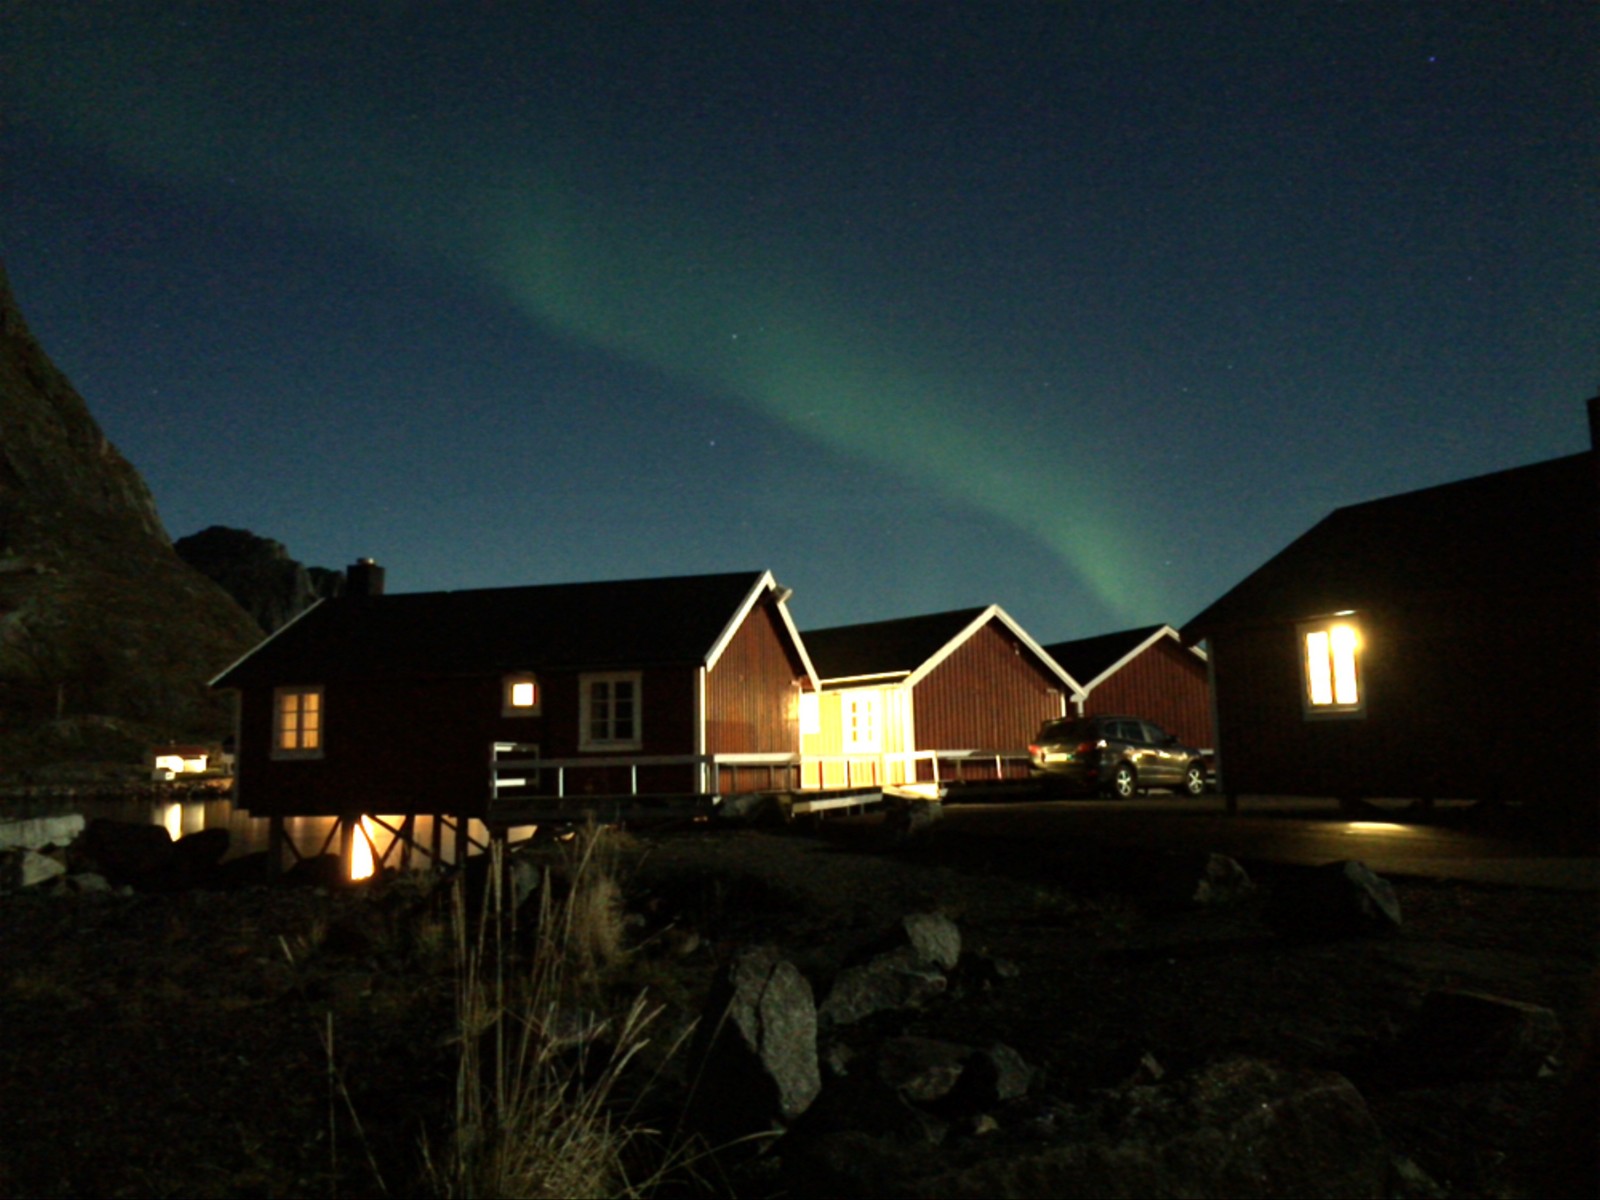
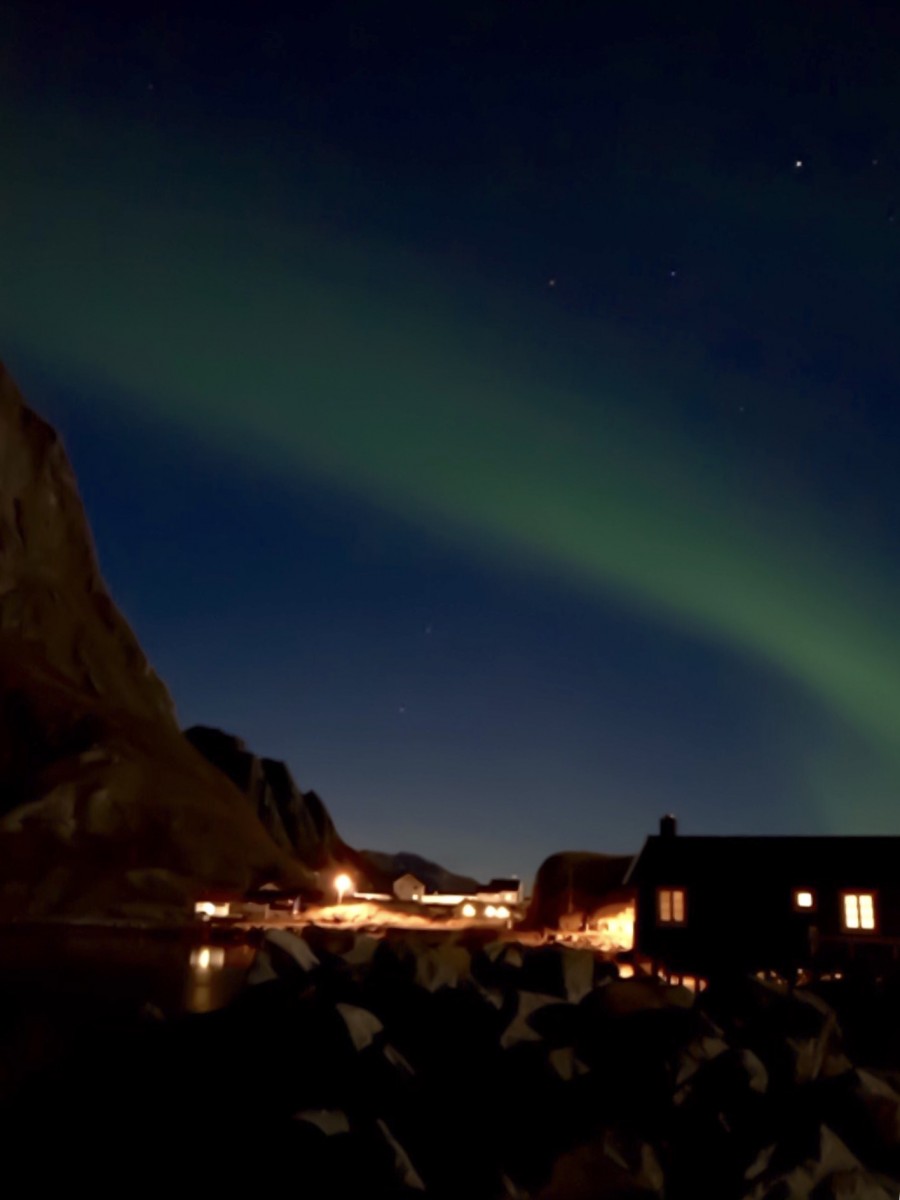
Ana got the image above using the Shutter Speed App and her iPhone 6
Tip #5 Use iPhone Apps to Edit Your Northern Lights Images
All of the northern lights images I got in Norway’s Lofoten Islands looked better after some basic photo editing. Reducing the noise in the images and making the color pop were the two things most of the aurora photos shot on my iPhone 7 plus needed. I found the most useful app for editing these northern lights images was Adobe Photoshop Express,which has a good de-noise feature. I also used the TouchRetouch app, which was also useful for cleaning up burned out highlights and bleeding from artificial lights. I straightened the horizons in my images using the editing features right in my iPhone’s native camera app.
For more northern lights images shot on our DSLR setups can be found this earlier post, Chasing the Northern Lights in Norway’s Lofoten Islands.